Scheduling TextPipe to run at a particular time
The Windows Task Scheduler is an integral part of Windows (no additional software is required).
This document shows how to schedule any application using the Windows Scheduler. The example used is TextPipe Pro, but it could equally well be other programs.
Objective
TextPipe Pro is routinely used to process files generated by other processes on a scheduled basis. TextPipe Pro can be simply automated using the Windows Task Scheduler. This example will guide you through setting up a Scheduled Task that will run every Monday morning at 6:00 a.m. If you need to check for the existence of a file, please see our polling example.
For easier set-up, you should first create a batch file. Click here for an example of a batch file.
Requirements
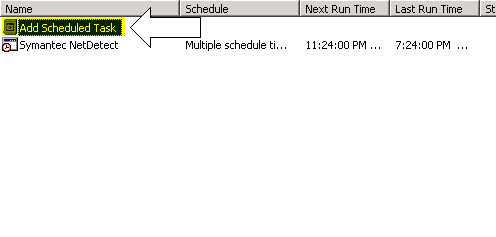
Create a new task for the scheduler1. Open the Windows Scheduler. Start Menu->Programs->Accessories->System Tools->Scheduler. Then, add a scheduled task.
2. A wizard will appear to help walk you through
the steps of creating a scheduled task. Click on the "Next" button.

3. The next screen in the wizard prompts for a
program to run. Click on the "Browse" button.

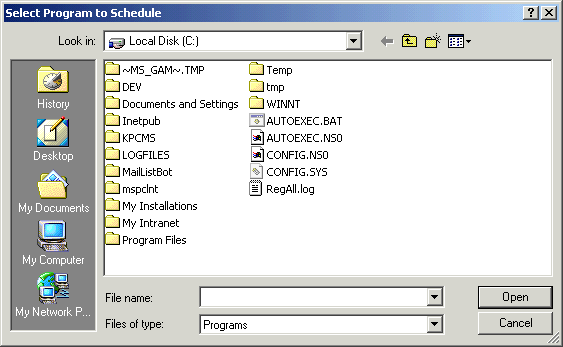
4. The "Select Program to Schedule"
dialog will appear (it may appear slightly different on your computer). Go to
the location of TextPipe Pro program or batch file you have created. For this
example, we will schedule a task using the batch file created in the previous
example ( Click
here to see that example ). Navigate to the directory where it exists and
click the "Open" button.
5. Next, select the frequency you would like the
task to run. For this example, choose "Weekly", then click the
"Next" button.
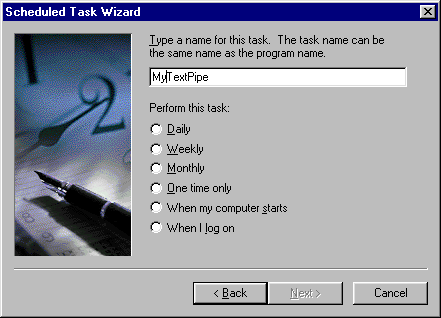
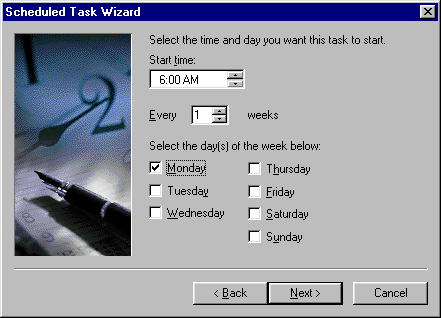
6. Next, select the day and time to run the task.
For this example, change the time to 6:00a.m. and check the box next to
"Monday". Click on the "Next". button.
7. Note for Windows 2000 users: You will see an additional step in the wizard prompting you for a user name and password for the task to use when running this task. You should provide a user id and password that has privileges to use TextPipe Pro in this case.
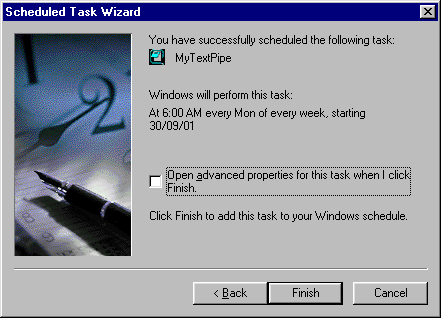
8. You will now see the last step in the wizard.
Click the "Finish" button.